A jacket that starts flaking can feel like it’s “done,” especially when the peeling shows up on the sleeves, shoulders, or collar where your eyes go first. In most cases, though, the leather underneath is not the real problem. The problem is the finish system sitting on top of it, the clear protective topcoat and the color layer beneath, and once that system loses grip, it begins to lift, chip, and shed.
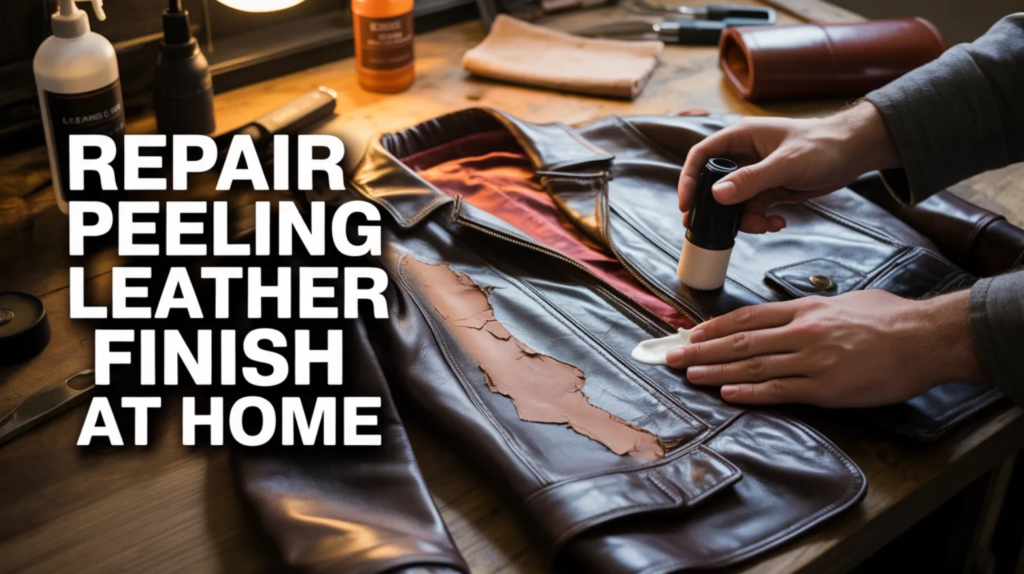
This guide shows you how to repair that finish at home, using a calm, repeatable method: clean properly, remove only what’s unstable, re-adhere anything that’s lifting, rebuild color in thin layers, and seal the repair so it flexes with the jacket instead of cracking again.
The first win is knowing what’s actually peeling
You’ll get better results when you identify the material and failure type before you start adding products.
Finished leather vs faux/bonded leather (quick reality check)
Finished (pigmented) leather usually has a smooth, even color layer and a protective topcoat. When it fails, it tends to flake like thin chips or peel like a clear film.
Faux leather or bonded leather often fails by delaminating. Instead of small chips, the top layer can separate like a skin, and you may see fabric backing underneath.
That difference matters because a lifting coating needs to be stabilized first, while light flaking can be handled with careful edge work and thin recoating.
If you’re seeing small flakes and light chipping, you’ll move faster if you follow the exact sequence for how to repair small peeling spots without widening the damage in this step-by-step approach for small flakes and light finish loss.
If the surface layer is lifting like a film, don’t paint over it yet, you’ll want to start by re-adhering the detaching finish so it stops spreading.
What a “good repair” really means (so you don’t chase perfection)
A peeling-finish repair succeeds when three things happen:
- The unstable finish stops spreading.
- The repaired area feels smooth and flexible.
- The color and sheen look consistent enough that you stop noticing it.
So the goal is not “make it brand new.” The goal is “make it stable, wearable, and visually calm.”
That’s why this pillar uses a simple system: clean → stabilize → level → recolor → seal.
The at-home repair system: clean, stabilize, rebuild, protect
Step 1: Clean gently, because adhesion starts with a clean surface
A new layer bonds to what’s underneath it. If the surface is oily, waxy, or dirty, the new coat grips poorly and fails early.
- Use a gentle cleaner with a microfiber cloth.
- Wipe in small sections.
- Let it dry fully before doing anything else.
If the jacket feels sticky after wiping, that tackiness often signals a degrading topcoat. In that case, cleaning twice and allowing proper dry time helps you avoid sealing dirt and breakdown into your repair.
Step 2: Remove only what’s already loose (the “don’t escalate the damage” rule)
This step is where most people accidentally create a bigger problem.
- Remove flakes that come off with almost no effort.
- Stop when the edge feels anchored.
- Do not peel beyond what’s already failing.
When the peeling edge is borderline, partly loose, partly attached, it helps to decide whether you should remove it or seal it based on the condition of the surrounding finish. That decision is exactly what this guide explains about removing loose topcoat versus sealing over it.
Step 3: Feather the edges so the repair doesn’t look like a patch
A visible repair usually isn’t “bad color.” It’s a hard ridge where old finish meets the exposed area.
- Use a very fine sanding pad (light pressure).
- Soften the ridge, don’t grind the leather.
- Wipe dust away as you go.
A feathered edge creates a smooth transition so your touch-up layers can blend naturally instead of stacking like paint on a wall.
Step 4: Stabilize lifting areas before you add color
If the finish is lifting, bubbling, or detaching in a thin sheet, it’s telling you something simple: the base is not stable enough to hold new layers.
In that situation, you’ll get stronger results if you first press the lifting surface back down using a method designed for detaching finish, and only then continue with leveling, color, and topcoat.
This one step often separates repairs that last from repairs that look good for a week and then peel again.
Step 5: Fill and level only when you truly need it
If the finish loss has created small craters or missing chips that you can feel with your fingertip, you can use a flexible filler sparingly.
- Apply thinly.
- Let it dry completely.
- Sand lightly until it becomes part of the surface.
If your damage is mostly flaking and rough edges rather than missing “chunks,” you can skip filler and move on.
Step 6: Restore color with thin coats that can flex
A jacket bends at the elbows, creases at the shoulders, and folds at the waist. Thick paint looks good at first, then cracks where the jacket moves.
So your best strategy is:
- Build color slowly in thin layers.
- Let each layer dry before the next.
- Stop when it matches from normal viewing distance.
If you want a practical way to match color without the “too dark / too light / too flat” frustration, this helps: use this touch-up color-matching guide to blend repaired spots more naturally.
Step 7: Seal the repair so it becomes a finish again (not just a painted spot)
Color without protection is vulnerable. A flexible topcoat protects the new color layer and helps the jacket look consistent again by restoring the right sheen.
- Apply thin coats.
- Choose a finish that matches the jacket (many jackets lean satin/matte).
- Avoid heavy, glossy sealing unless the jacket is truly glossy.
If you’re unsure what products work well together in a home repair, you’ll save time by picking from a shortlist of repair kits, sealants, and finishes made for peeling jacket repairs.
Common situations and what they usually mean
“It’s peeling in small flakes”
That’s often a topcoat or color layer failing locally, usually fixable with edge feathering, thin color layers, and resealing.
If this is your case, you’ll likely do best by following the small-flake repair process that prevents the damage from spreading before you start experimenting.
“It’s lifting like a skin”
That’s loss of adhesion, and the repair must stabilize the lifting area first.
You’ll waste product if you don’t fix the base, so start by re-adhering the detaching surface layer before repainting.
“It keeps shedding every time I touch it”
That often means wide finish breakdown (common in faux/bonded leather, but sometimes in older coated leathers too). You can still improve appearance and wearability, but high-friction zones may need periodic touch-ups.
In that scenario, stable and wearable is the win.
Mistakes that make peeling worse
- Pulling at edges instead of trimming/removing only what’s already loose
- Painting thick coats that crack where the jacket bends
- Sealing over lifting finish and trapping failure underneath
- Using random household sealers that dry hard and brittle
- Skipping cleaning and prep, so new layers never bond well
Where to go next, based on your jacket’s problem
If you want the quickest path, match your situation to the right supporting page:
- If the peeling is minor, you’ll repair it more cleanly when you use the small-flake step sequence for light finish damage.
- If the surface is lifting, you’ll prevent spread when you re-adhere the detaching finish before adding new layers.
- If you’re stuck on whether to remove loose topcoat or seal it, it helps to use this remove-versus-seal decision guide for peeling topcoat.
- If the touch-up looks off, you’ll blend it better when you match color using a simple, practical touch-up method.
- If you want a safe shopping list, you’ll avoid mismatched products when you choose from these repair kits, sealants, and finishes for peeling jackets.
Conclusion
A peeling leather jacket finish looks dramatic, but the repair is usually practical. The surface peels because the finish has lost adhesion or flexibility, and the fix is to rebuild the finish like a system: clean it, remove only what’s unstable, re-adhere anything lifting, restore color in thin flexible coats, and seal it so it can move with the jacket again. When you treat the finish as the thing you’re repairing, not the entire jacket, you stop chasing random “miracle products” and start getting calm, consistent results that make the jacket feel wearable again.