Peeling feels urgent because it is urgent. Once the surface layer starts lifting, normal movement can turn a small weak spot into a wider patch. In the first 24 hours, your job is not to “repair everything.” Your job is to stop the peeling edge from being pulled, soften the conditions that are stressing the finish, and stabilize the area so it doesn’t keep shedding.
What you’re trying to achieve in the first day
A peeling jacket usually has a weakened top layer. That layer fails faster when it keeps catching, rubbing, or drying out.
So your first-day targets are simple:
- Remove friction that keeps lifting the edge
- Avoid cleaners that dissolve the remaining finish
- Keep the surface calm, not “wet” or over-treated
- Create a stable environment so the peeling slows down
You’ll do more later, but the first day is about preventing spread.
Before you touch anything: the two-minute check
1) Confirm you’re not dealing with “active shedding”
If flakes fall off with the lightest touch, treat the area as fragile. That means no rubbing, no scrubbing, and no aggressive wiping.
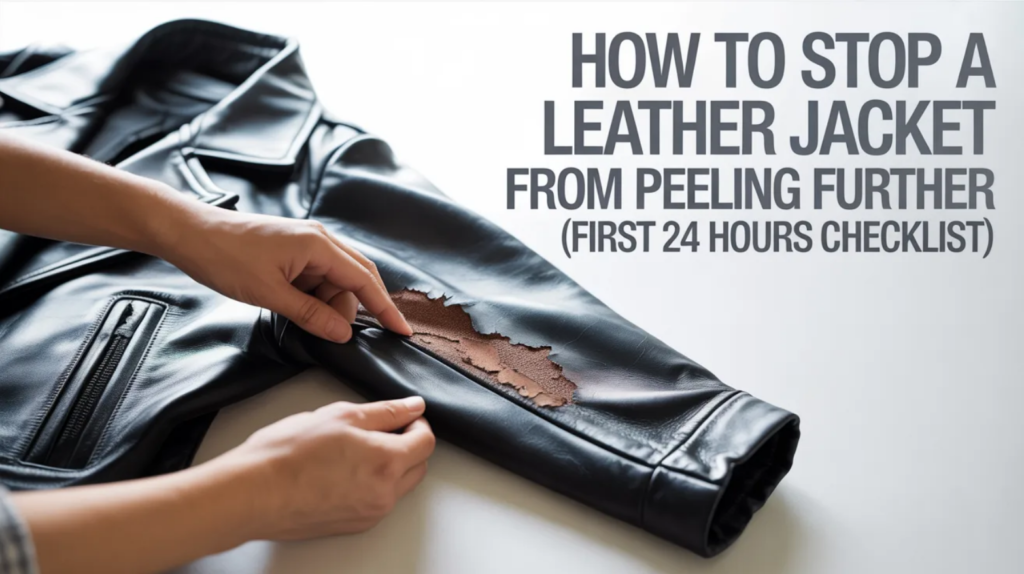
2) Check what’s under the peel
If you see fabric-like backing under the flakes, it’s likely a coated or bonded layer separating. If you see natural grain with a worn finish, it may be genuine leather with a failing topcoat. Either way, the next steps still work because both materials hate friction and harsh chemicals.
The First 24 Hours Checklist
Step 1: Pause wear in high-rub situations (right now)
Wear is not the enemy, but friction is. Car seats, backpacks, cross-body straps, desk edges, and tight arm movement pull at peeling edges like sandpaper.
If you must wear it today, treat the peeling zone like a wound: protect it from rubbing and avoid pressure points.
Step 2: Remove dust without “scrubbing”
Dust and grit behave like tiny blades. They sit on the surface, and then your sleeve movement drags them across the finish.
Use a soft, dry microfiber cloth and lightly lift dust away. Do not rub in circles. Do not press hard. The goal is to reduce abrasion, not polish the jacket.
Step 3: Do a gentle wipe only if the surface feels dirty
If the area has visible grime, use a slightly damp cloth with plain water. Wipe once, then stop. Over-wiping is how weak finish turns into peeling.
Avoid alcohol wipes, strong soaps, and degreasers. Those strip the surface layer and make it shed faster.
Step 4: Stabilize the environment (this matters more than people think)
A peeling finish reacts badly to heat and humidity swings. When the jacket warms up and cools down repeatedly, the surface layer expands and contracts until it lifts more.
Keep it away from heaters, direct sunlight, and steamy rooms. If you’ve noticed peeling suddenly gets worse in certain conditions, that pattern usually matches how heat and humidity can trigger finish breakdown.
Step 5: Never pull loose flakes (even the tempting ones)
Pulling feels satisfying, but it often grabs healthy finish along with the weak part. That creates a wider peeling border, which then continues spreading.
If a flake is hanging by a thread and catching on clothing, trim only the loose piece with small scissors. Keep the blades parallel to the surface and cut gently.
Step 6: Apply protection based on what the surface needs, not what’s popular
In the first 24 hours, heavy product use can backfire. The wrong product can soften the coating too much, trap flakes, or create a shiny patch that highlights damage.
If the surface feels dry and tight, a light conditioning approach may make the area more flexible. If the surface feels like a film that keeps lifting, a protective barrier strategy may be more appropriate. That difference is why people often weigh conditioners versus protective coatings before applying anything on a peeling jacket.
First-day rule: apply lightly, test a hidden spot first, and stop if the finish looks more unstable.
Step 7: Let the jacket rest (don’t “work” the area)
After any light cleaning or minimal product, give the jacket time to settle. Bending the elbows repeatedly or rubbing the surface to “blend” things usually lifts more finish.
Hang it on a wide hanger and keep the peeling area free from contact.
Step 8: Create a short-term friction shield (only if the edge keeps catching)
If the peeling edge keeps snagging on clothes, cover the area loosely with a soft cloth while it rests. Avoid sticky tapes that can rip more finish off when removed.
The purpose is simple: stop the edge from catching until the surface is calmer.
What not to do in the first 24 hours
These are the most common moves that turn small peeling into big peeling:
- Rubbing the area to “remove loose stuff”
- Using alcohol, vinegar, strong soap, or degreaser
- Trying to glue flakes back down
- Putting the jacket near a heater to “dry it faster”
- Applying thick layers of product to “seal it” immediately
- Scratching at the peeling edge with nails
The first day is not for aggressive correction. It’s for stopping spread.
What to do after the first day
Once the surface stops actively shedding, you can shift from emergency stabilization to prevention.
That means keeping the jacket clean enough to avoid abrasion, flexible enough to resist cracking, and protected enough that the finish doesn’t lift again. Many jackets improve once they settle into a steady rhythm where daily and weekly care keeps the surface stable.
If the jacket will be stored soon (or it’s already going into a closet for weeks), storage matters as much as product choice because flaking can start during downtime when air is too dry or too damp. That’s why some jackets peel right after a season change, especially when winter storage and seasonal shifts stress the finish.
Calm reality check
A peeling leather jacket usually isn’t “ruined overnight,” but the peeling edge behaves like a tear that spreads when it keeps catching. In the first 24 hours, reducing friction, avoiding harsh cleaners, and keeping the environment stable can slow the peeling dramatically. Once the surface settles, consistent care and smart storage prevent the same failure from repeating in new areas.