You don’t need a lab, a leather expert, or a fancy kit to figure out what your jacket is made of. You just need two things: a calm method and the right clues. Once you identify the material, you stop guessing and you stop using the wrong products, because a faux leather jacket “peels” for a completely different reason than aniline leather, and bonded leather fails in its own stubborn way.
This guide gives you simple, low-risk checks you can do at home using light, common-sense observation. It also helps you avoid the two most common mistakes: assuming anything “leather-looking” is real leather, and assuming “peeling” always means the same problem.
If you want the bigger framework first, this guide sits inside the material hub, because a jacket can start peeling differently depending on the material type.
Before you test anything: one rule that prevents regret
Never test on a visible panel first.
Pick a low-risk spot:
- inside hem
- inside sleeve cuff
- behind the collar
- under a pocket flap (if it exists)
And use gentle pressure. The goal is to learn, not to “prove” something aggressively.
Test 1: The “look underneath” peel-check (fastest clue for faux/bonded)
This is the quickest way to separate film-based materials from real leather behavior.
Use your fingernail very lightly on a damaged edge (only if there’s already a peeling or flaking spot).
What to notice:
- If a thin “skin” lifts and you clearly see a fabric backing underneath, it often behaves like faux leather that cracks and peels as the plastic film breaks down.
- If the surface flakes into irregular bits and the underlayer looks crumbly or paper-like, that points more toward bonded leather behavior.
Real leather rarely lifts like a sticker. It tends to scuff, fade, or crack rather than delaminate.
Test 2: The bend-and-light test (reveals film vs hide)
Hold the jacket so a creased area catches light (elbow or sleeve crease works well). Then bend it slowly.
Watch the surface:
- A plastic-like surface often shows a sharp, paint-like crack pattern that “opens” as you flex it.
- Real leather creases in a softer, more rounded way. The grain shifts rather than splitting into crisp lines.
- Bonded leather sometimes shows a strange mix: it creases, but the surface may break into patchy islands or look like it’s separating in small sections.
This test is useful because you’re not rubbing or applying anything. You’re simply watching how the surface behaves under movement.
Test 3: Touch + temperature (the “alive vs coated” feel)
This sounds simple, but it’s surprisingly reliable.
Place your palm on the jacket for a few seconds.
- Real leather often feels warmer and more “alive,” and it picks up your hand warmth quickly.
- Faux leather usually feels cooler and more uniform, with a slightly plasticky smoothness.
- Bonded leather can feel deceptively leather-like at first, but it often lacks the deep, elastic softness of a real hide.
This isn’t a perfect standalone test, but when combined with the others, it becomes a strong clue.
Test 4: The water droplet test (only on a hidden spot)
This test helps separate open leather from sealed surfaces. Use only a tiny droplet and only on a hidden area.
Put a small drop of water on a hidden spot and wait 10–20 seconds.
What to observe:
- If the droplet soaks in and darkens the area quickly, the leather is more open and could behave like aniline leather where dye wear and dryness can look like peeling.
- If the droplet beads up and sits on top longer, the surface is more sealed/finished.
- If the droplet just sits and the surface feels like plastic, that supports faux leather.
- If the droplet sits weirdly and the surface looks unstable or patchy, bonded leather is still possible.
Important: blot gently after the test. Don’t rub. Some leathers darken temporarily and then lighten again.
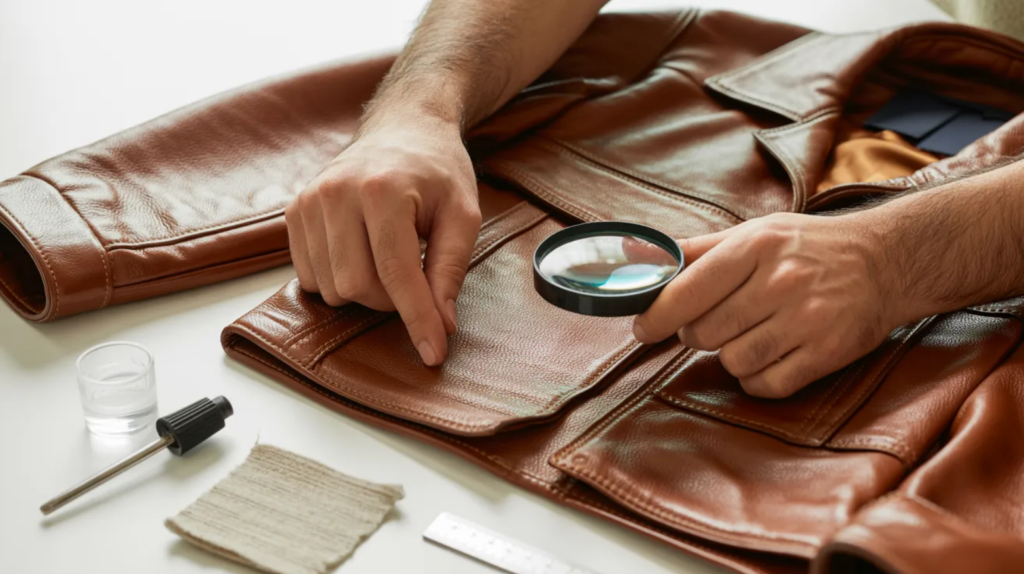
Test 5: The grain consistency test (real grain vs printed pattern)
Look closely at the surface grain pattern under good light.
- Real leather grain is naturally irregular. It has tiny variations, pores, and natural randomness.
- Faux leather often has a repeating pattern that looks “too perfect.”
- Bonded leather can have a grain pattern too, but it often looks more uniform and printed because it’s created by a surface layer.
If you see a very consistent grain pattern repeating across large areas, that’s a strong hint the surface is manufactured.
Test 6: The edge and seam inspection (hidden truth spots)
Manufacturers can make any surface look good from the front. The truth shows up at edges and seams.
Check:
- inside zipper seam
- hem edge
- cuff edge
- pocket opening
Clues that lean faux:
- fabric backing visible in edges
- thin film wrapping around edges
Clues that lean bonded:
- flaky composite look at edges
- peeling that exposes crumbly underlayer
Clues that lean real leather:
- the edge looks like a continuous material, not a layered film
- wear looks like scuffing or abrasion rather than sheet lift
This is one of the best checks because seams reveal construction.
Putting it together: quick material match chart (simple logic)
Use the combination of clues rather than one test:
Likely faux leather
- peeling in sheets or a film-like layer lifting
- fabric backing visible under damage
- cracking looks sharp and paint-like
Likely bonded leather
- flaking in patchy islands
- crumbly underlayer rather than clear fabric backing
- damage spreads in an uneven, “breaking apart” way
Likely finished (sealed) real leather
- water beads longer on hidden test
- color rub-off or edge wear looks like topcoat thinning
- surface feels smoother and more protected
Likely naked/aniline-type real leather
- water absorbs faster and darkens quickly (hidden test)
- surface marks easily and shows natural variation
- wear looks like fading + scuffing rather than film lifting
If you want to go deeper after identifying it, the most useful next step is usually learning how the surface ages. That’s why many jackets “seem” to peel because finished and naked leather age in visibly different ways even though both are real leather.
Two warnings that save jackets (and money)
Warning 1: Don’t “condition” until you identify
Conditioner is not universal. On faux leather it usually sits on top. On bonded leather it doesn’t rebuild the structure. On aniline it can darken unevenly. Identification comes first.
Warning 2: Don’t over-clean to “test”
Aggressive rubbing can strip dye from aniline and can lift weak faux edges. If you test by scrubbing, you might create the very damage you’re trying to diagnose.
Conclusion
Identifying your jacket material at home is mostly about observation: how the surface bends, what shows underneath damage, how water behaves on a hidden area, and whether the grain looks naturally irregular or printed. Once you know whether your jacket is real finished leather, open/aniline leather, faux leather, or bonded leather, every repair decision becomes calmer and more accurate.
And that’s the whole point, because a jacket can start peeling in different ways depending on its material type, but the right fix always starts with knowing what you’re actually holding.